How to Make a Toy Story Knife – Easy DIY Tutorial
The forks are all single, and the knives are online!
Let’s start with a step-by-step tutorial.
It’s not difficult, move the small bench and take a closer look!
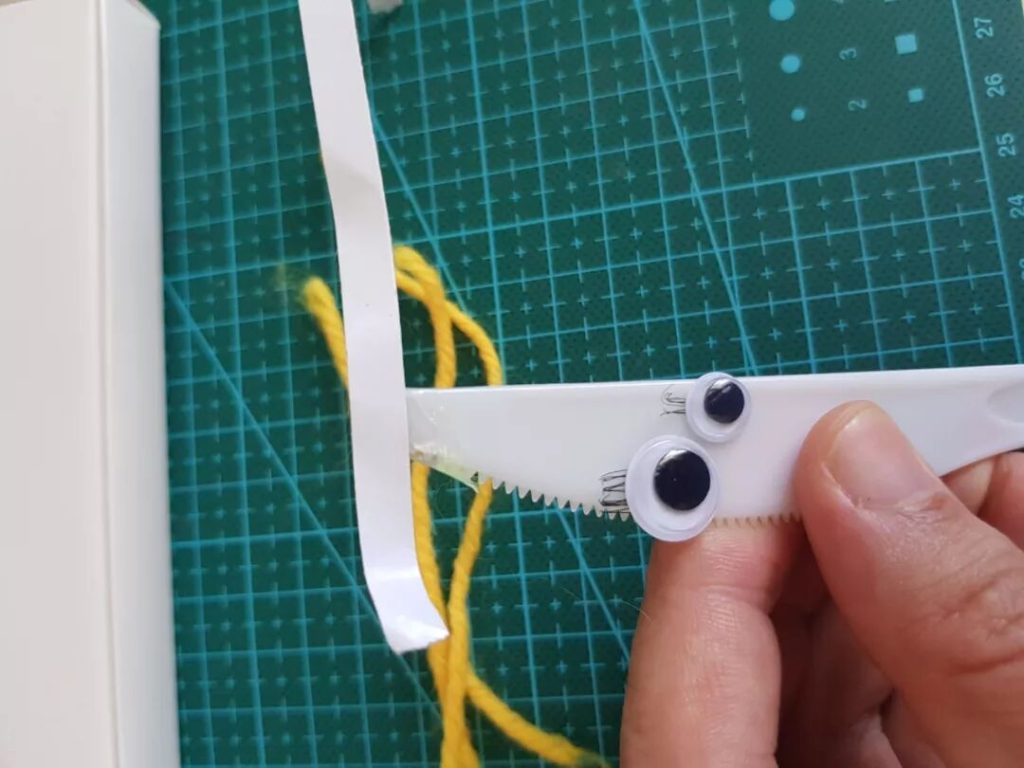
Let’s take out the body of the knife first
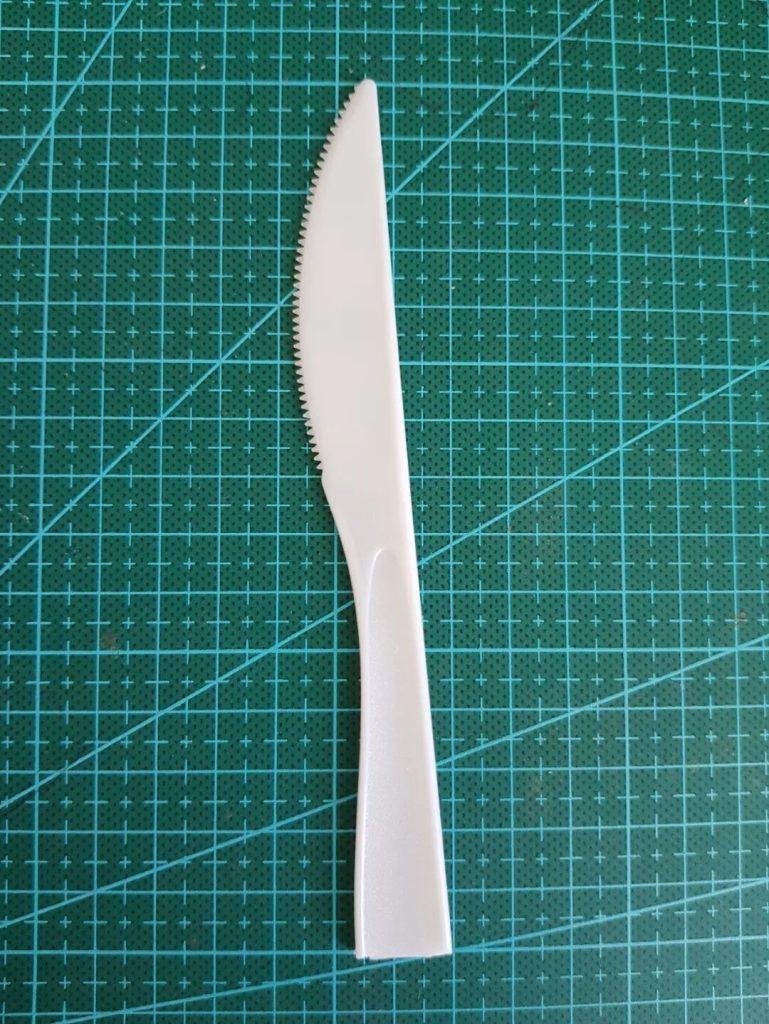
The body length of this knife has been adjusted, which is basically the same as the height of the fork.
Note that the curvature of the sawtooth is facing left, don’t put it backwards.

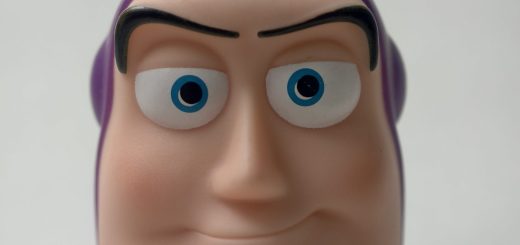
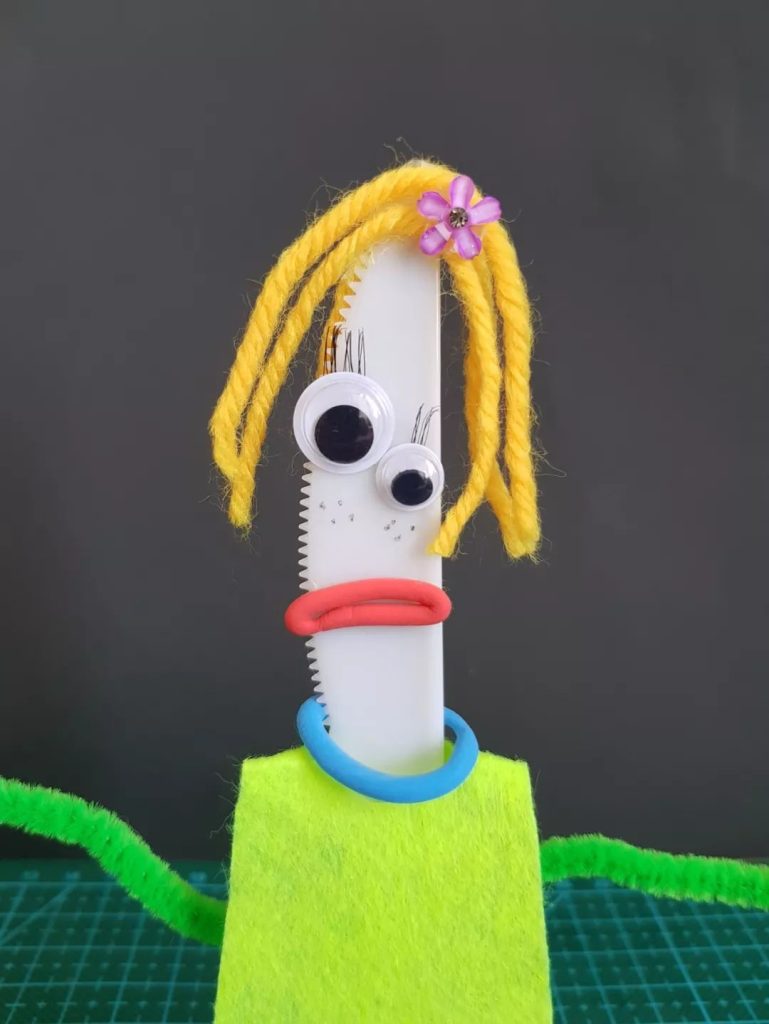
Eyes, eyelashes, mouth. That’s how the facial features are pinched. Let’s talk about how to stick the first eye and eyelashes
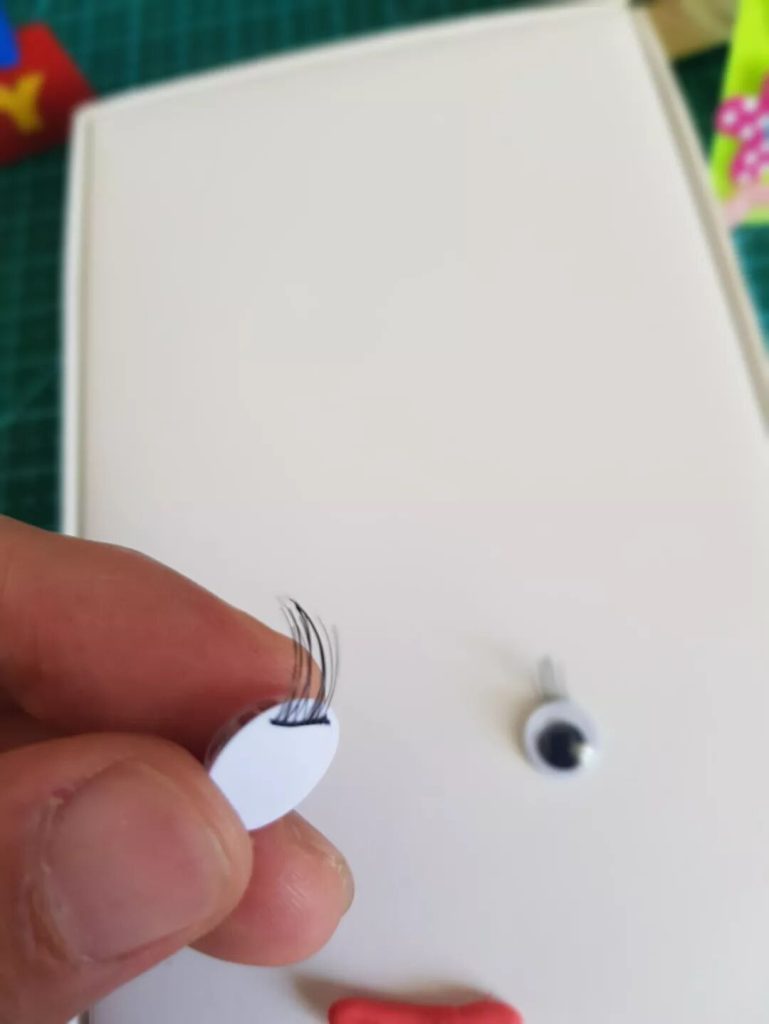
Take the eyelashes out of the pouch and cut them out in two with scissors, not too wide. Generally, take one-third, the big eyes can be slightly wider, the eyelashes of the small eyes are narrower, place it carefully, don’t sneeze and blow away…
Peel off the thin layer of white paper behind the eyes, and then glue the eyelashes to the back of the eyes.
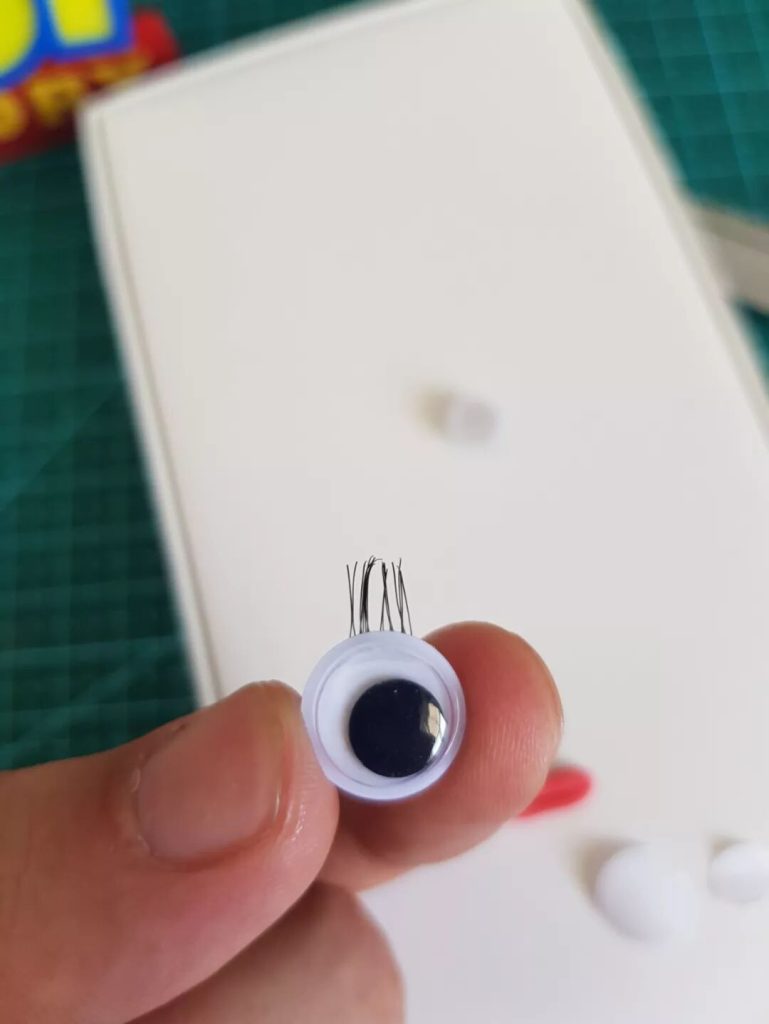
Stick your eyes to the knife.
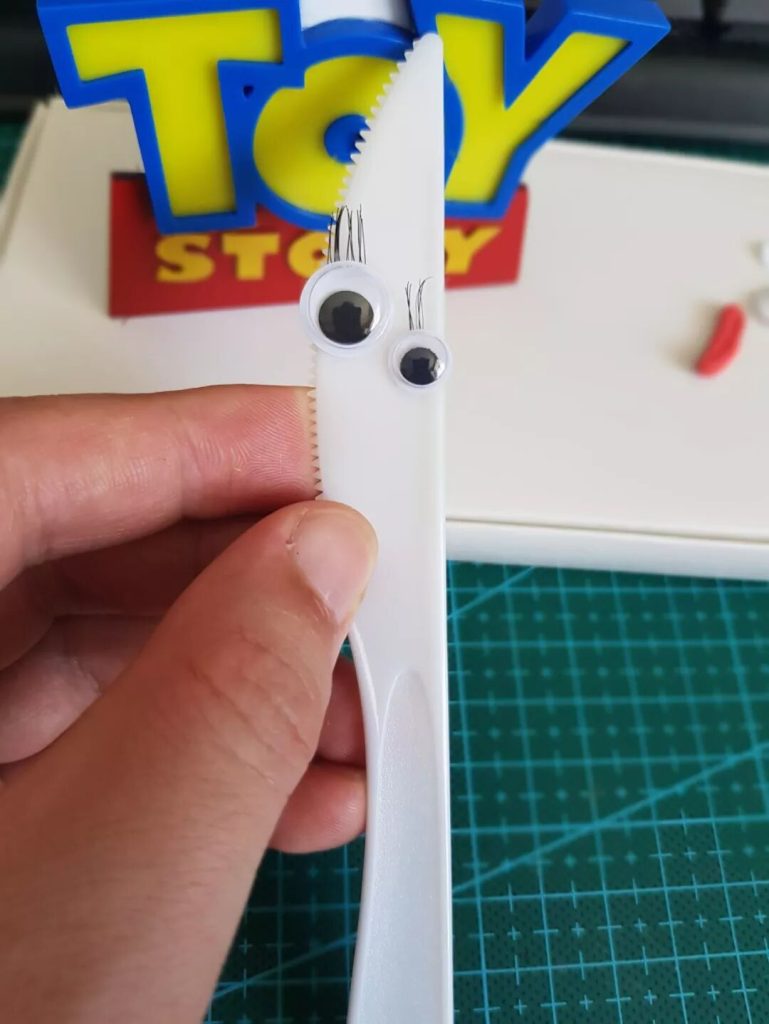
When sticking large and small eyes, if you feel that the sticking is not firm, you can use a little more double-sided tape (double-sided tape is behind the flower sticker)
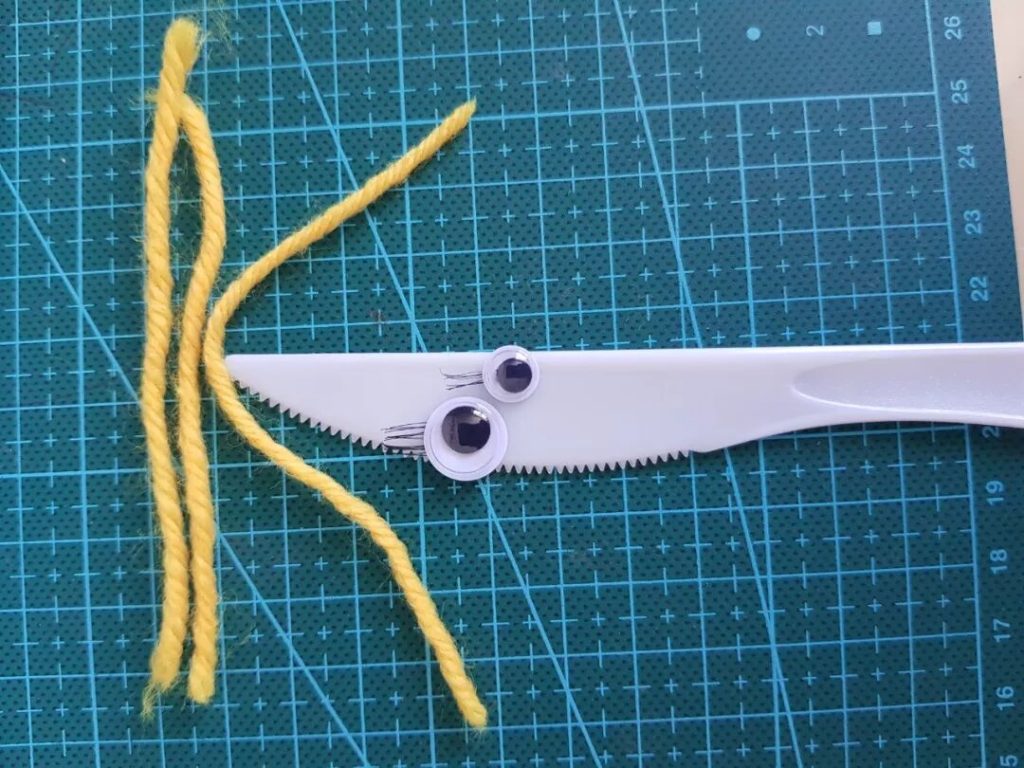
The hair started to stick below. Generally, 3 sticks are enough. Two in the front and one in the back. The length is almost enough to be folded in half from the top of the head to the eye position.
Use double-sided tape to the top of the head and wrap it in parallel about two times.
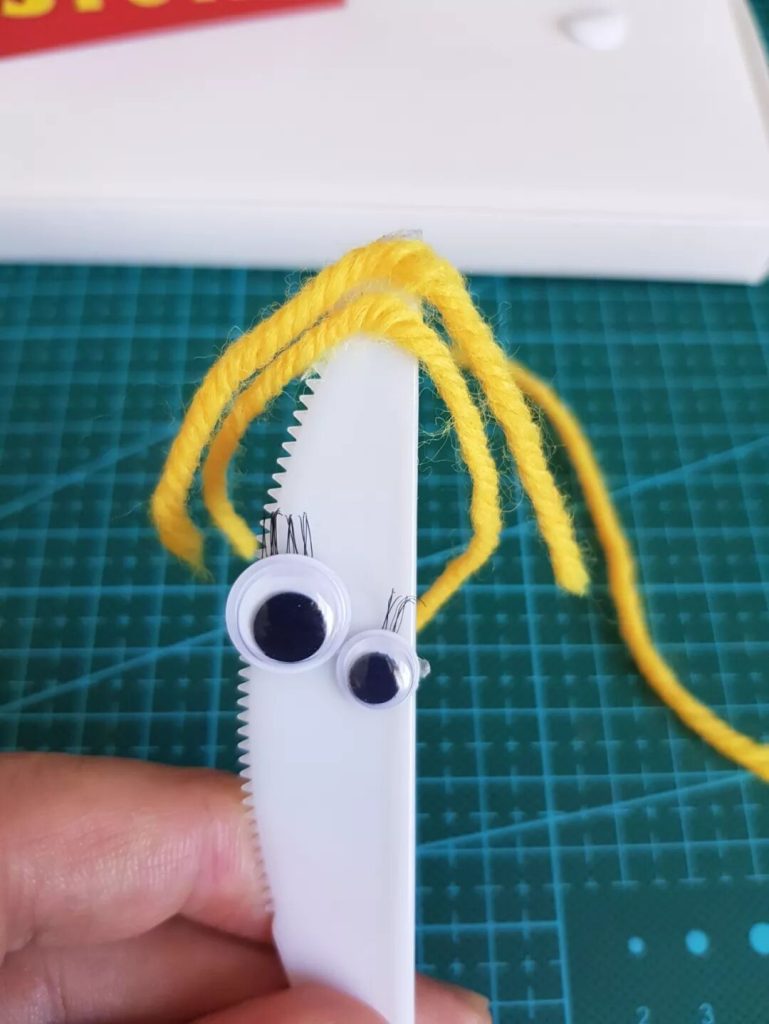
Glue two strands of hair on the front and one strand on the back.
When gluing, fold one hair in half from the middle and then glue it so that the hair can hang down. Otherwise, it will be too warpy.
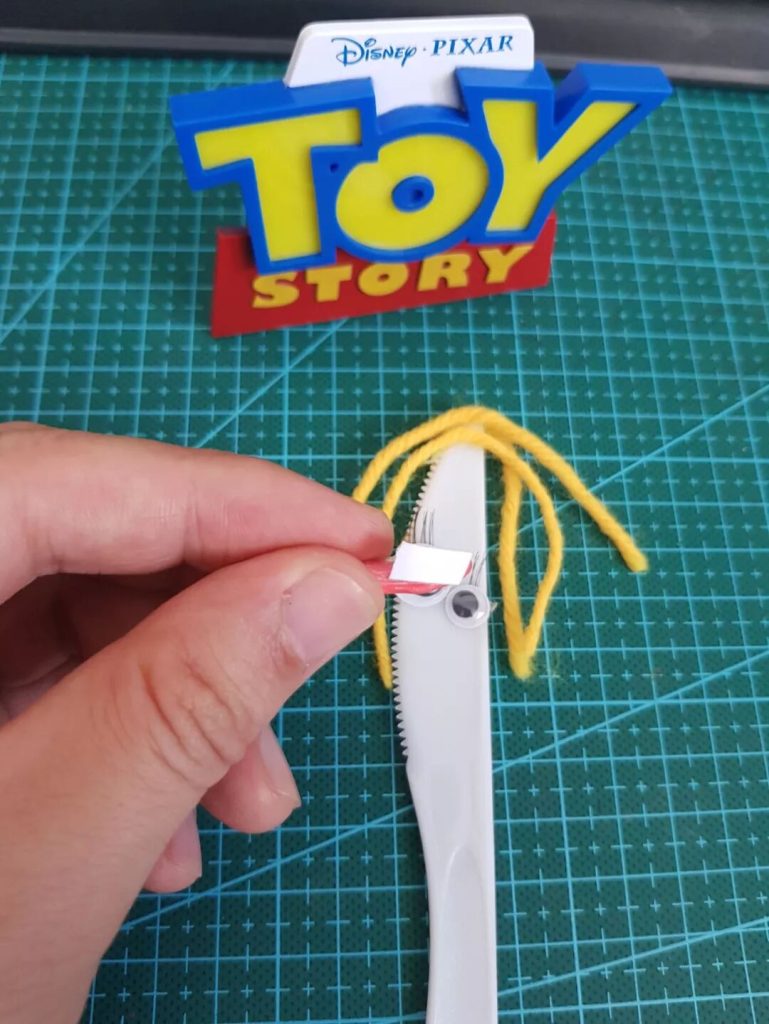
The next step is to stick your mouth. The mouth is a sausage mouth, take a small ball of red mud in advance, rub it into a circle, and fold it up. The length of the mouth is almost a little more than the width of the knife’s body. Also glued to the body with double-sided adhesive.
After this kind of red clay is pinched into shape, you can put it on the body to gesture, adjust the shape, and wait for it to dry a little before applying double-sided tape.
The small flowers on the hair should also be glued with double-sided tape. I won’t say much here
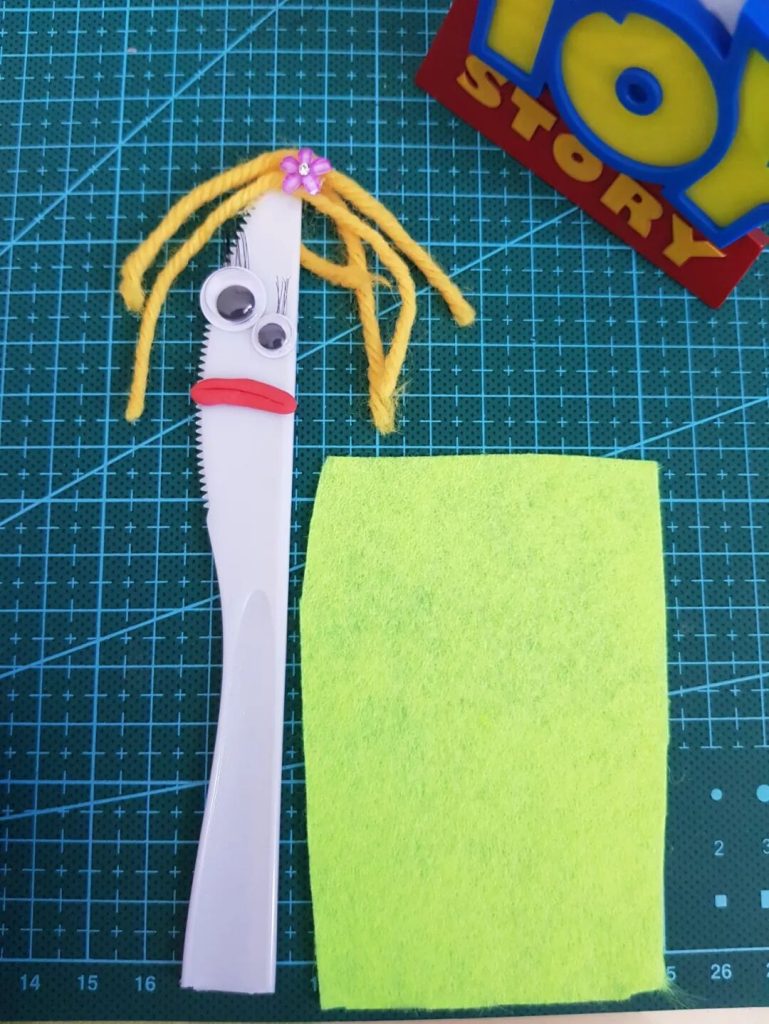
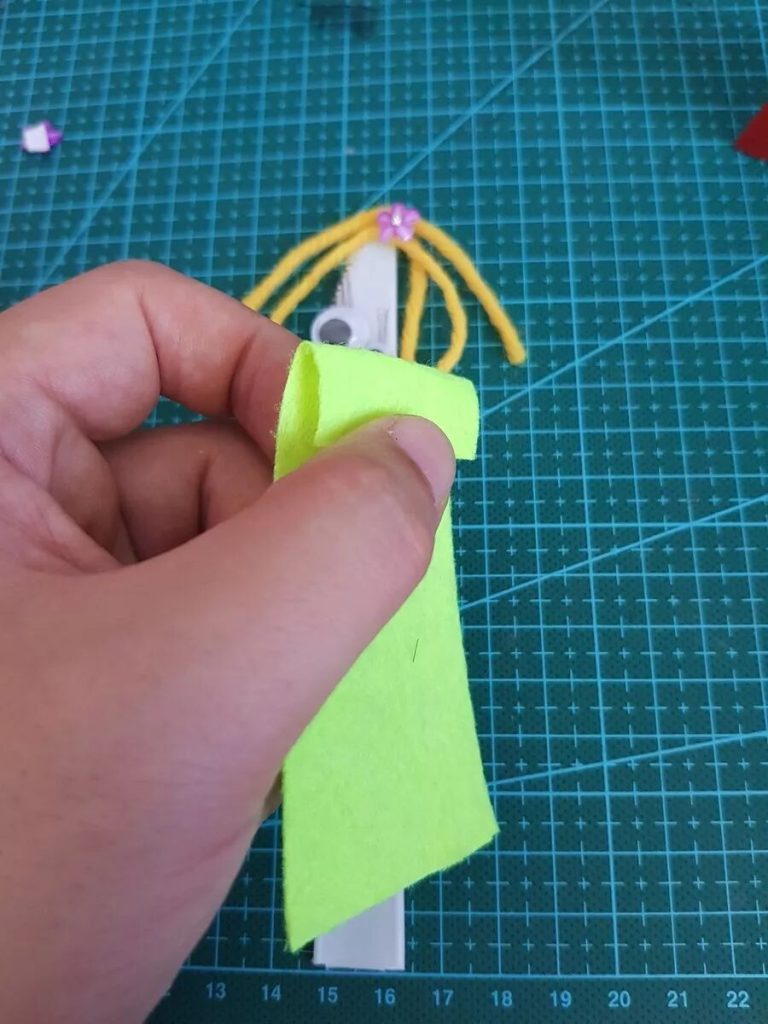
Then we take out the body cloth. Use scissors to cut into a thin equilateral trapezoid. Like a skirt like the one below.
Then we have to fold the top in half again and cut out a hole in the neck
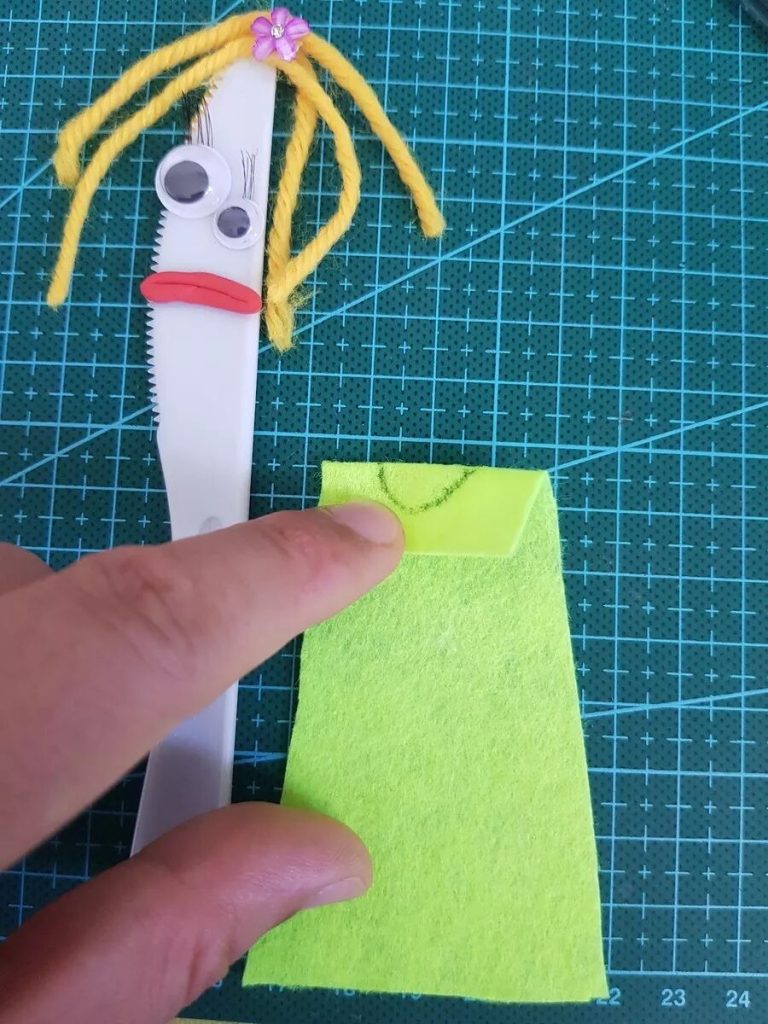

After folding in half, cut out a small hole in the neck

And then we glue the double-sided tape here, and then fold it down and glue it to the body.
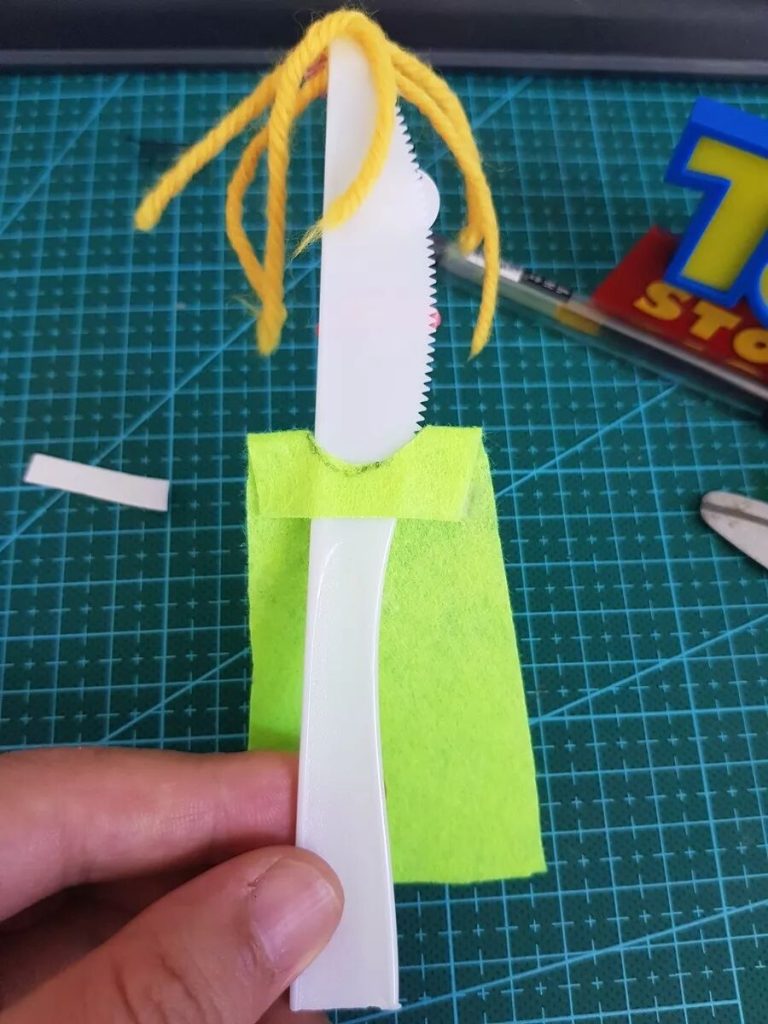
Glued is like this on the picture
Next, let’s make a pink skirt, and at the very bottom of the skirt, glue a strip of double-sided tape
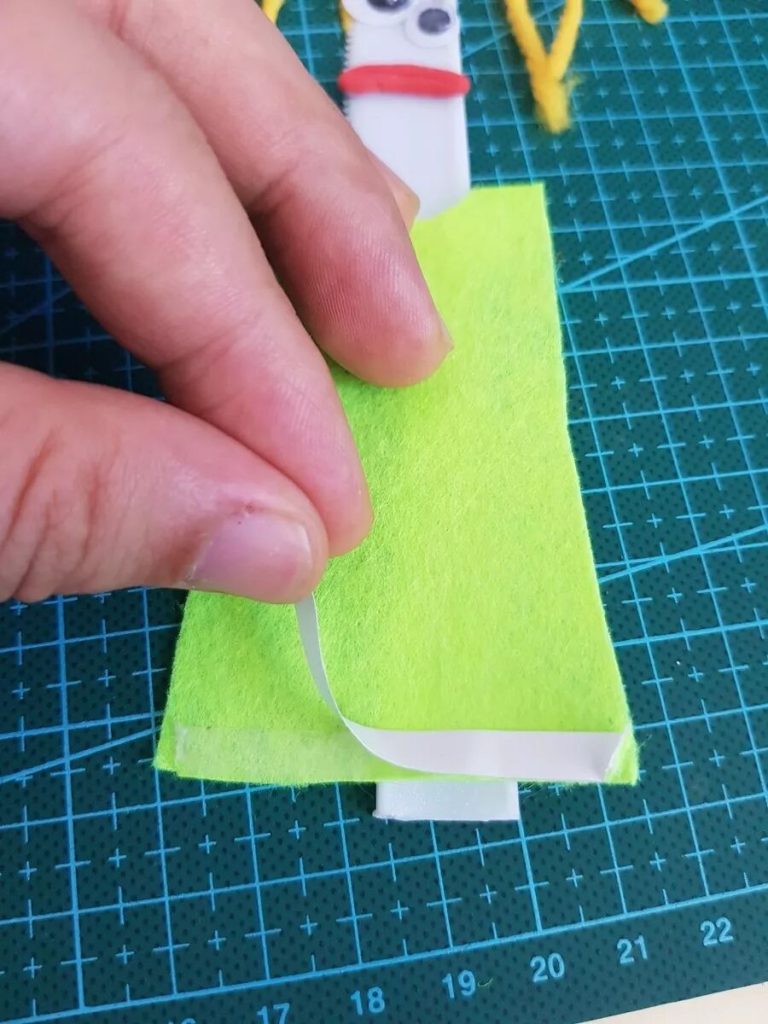
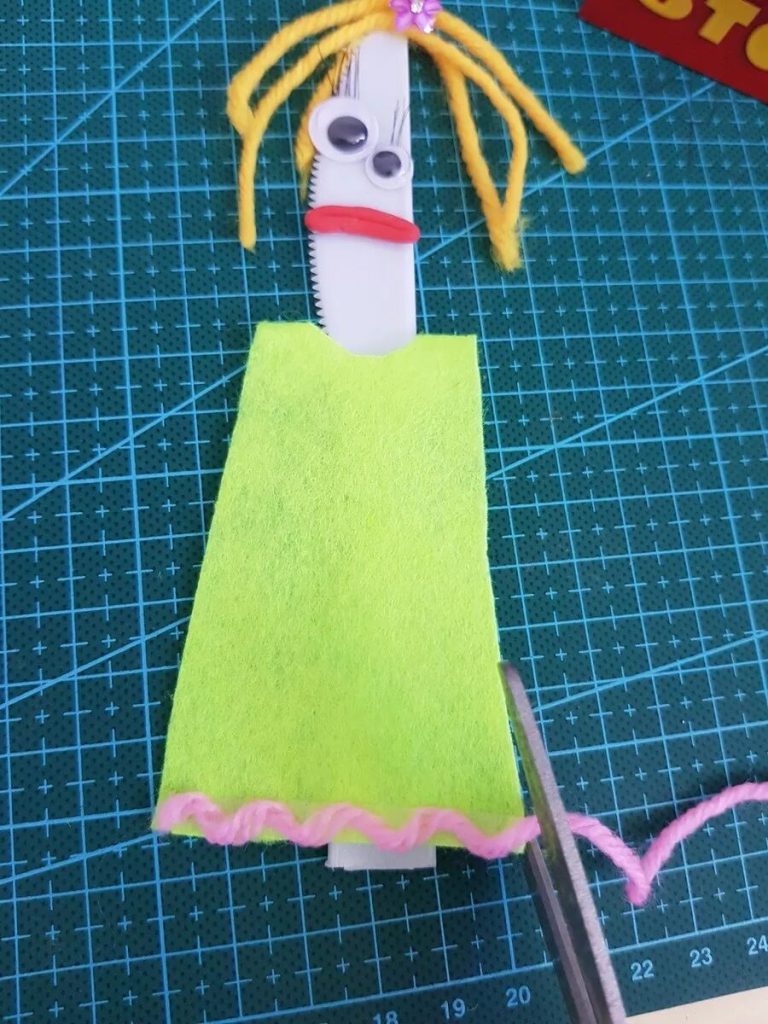
Let the pink wool bend. If you feel that it is not sticky, you can also use the glue that comes with it. Glue is a strong glue, remember to use it sparingly. Try to use double-sided tape.
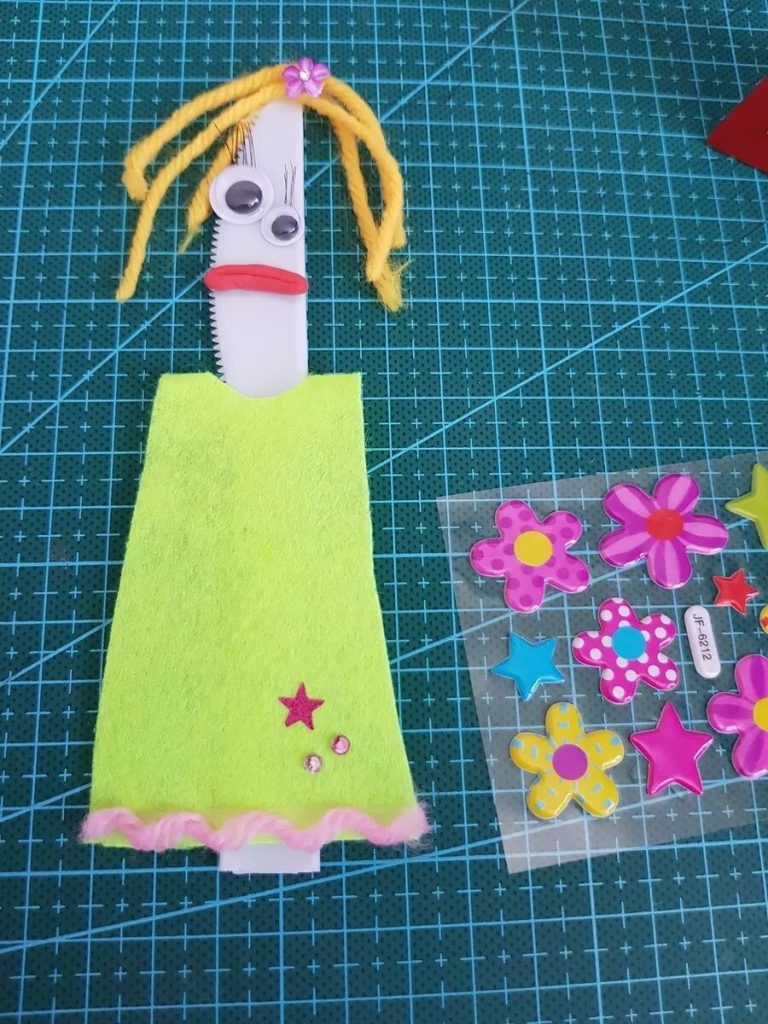
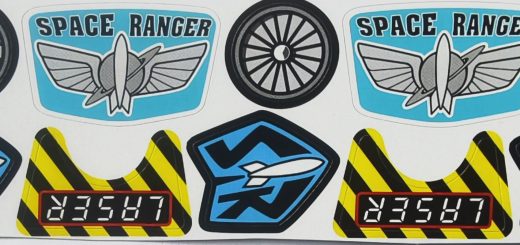
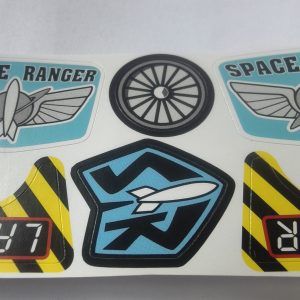
Then we can decorate this skirt with stickers. It depends on your like. You can paste it however, just do it yourself.
You can choose to use a black pen and water pen to dot some small freckles, lightly dotted, afraid of dotting the flower, you can now experiment with the effect on the soles of the feet on the back, and then try it on the face.

Let’s do the arms and wrap them around from the back
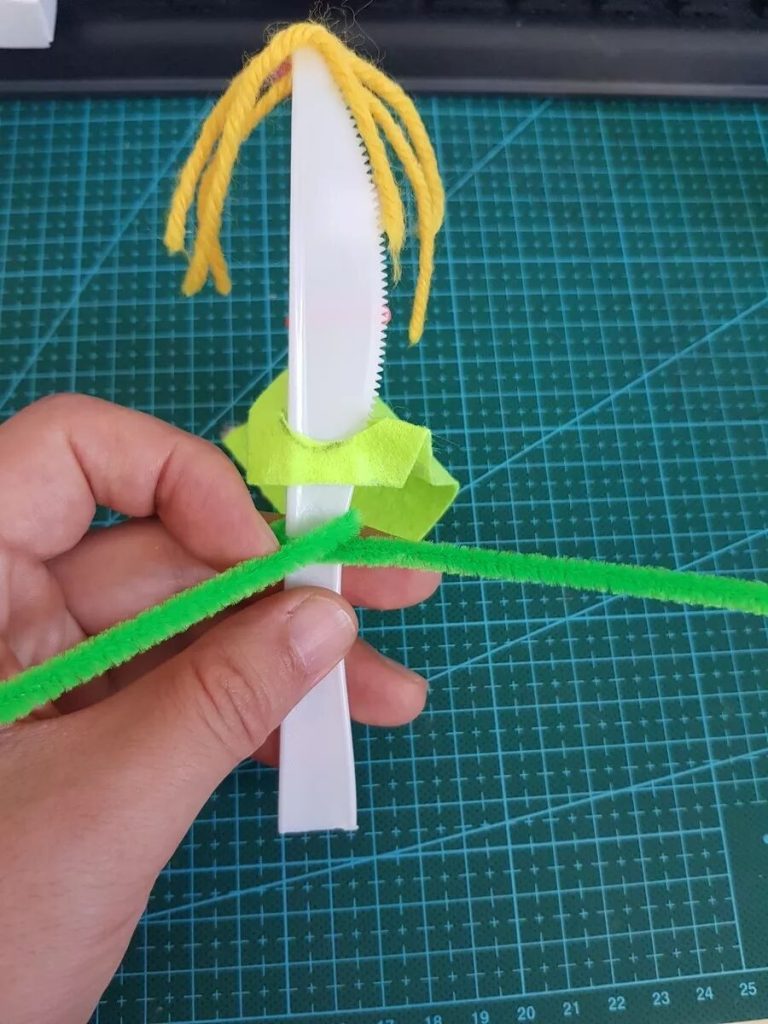
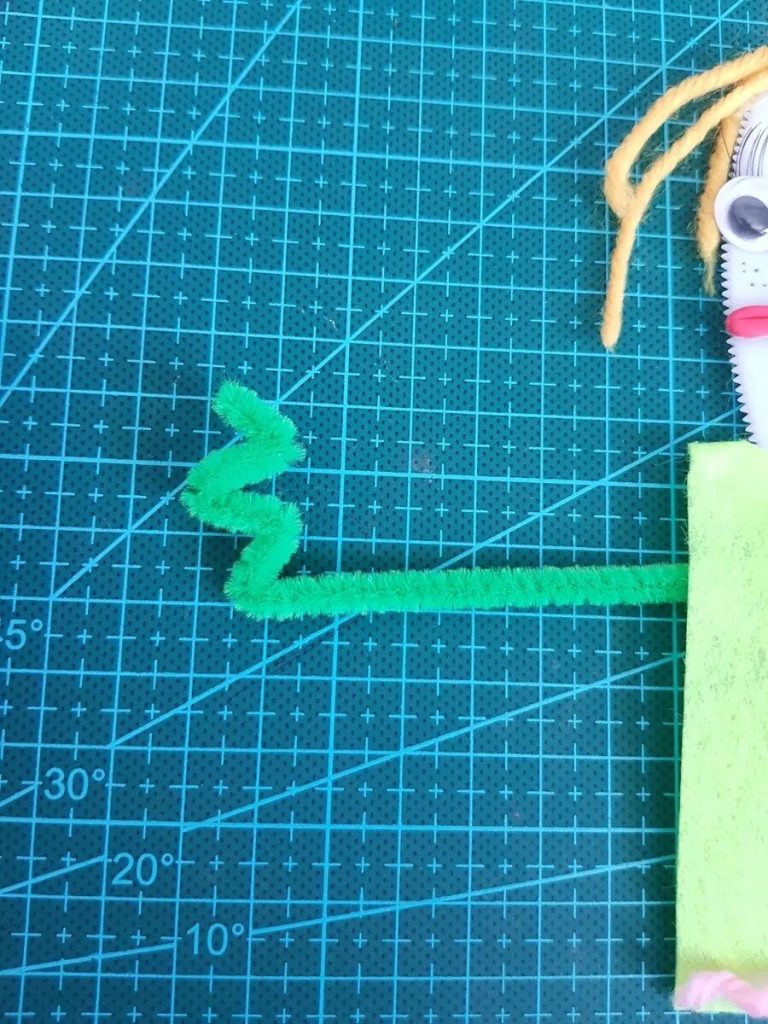
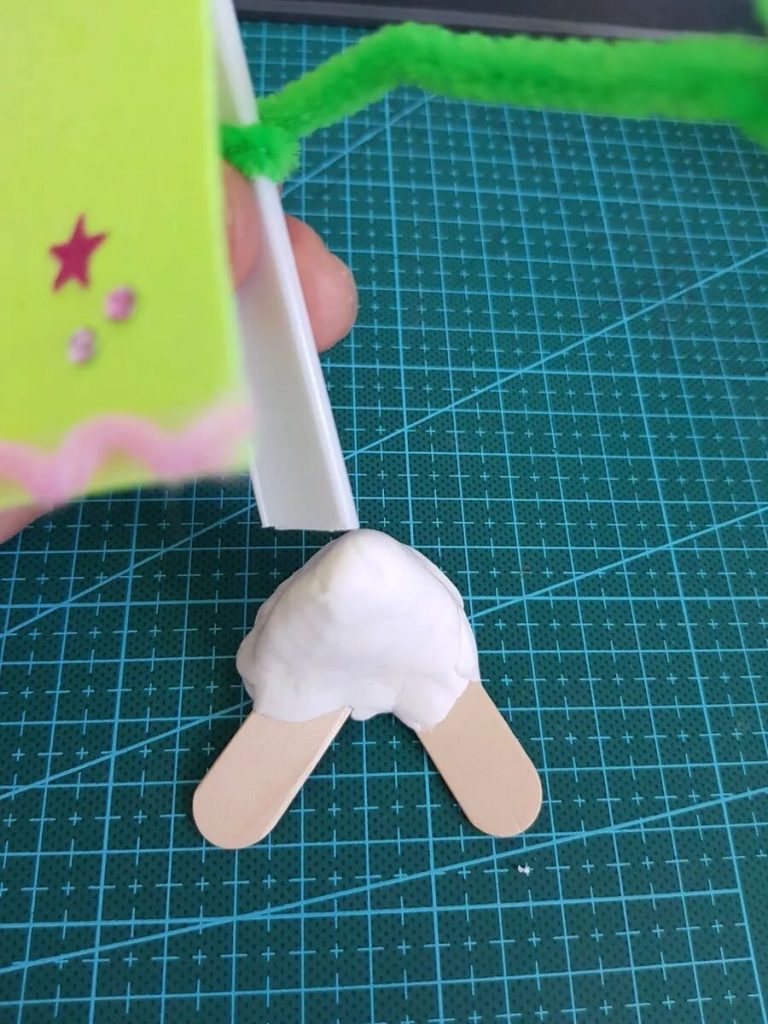
Fold out the shape of the hand, and then take out the white clay to make the feet

Take out the wooden stick and fold it in half from the middle, Sister Lin or children who are not tight can cut a small gap in the middle with scissors to make it easier to break
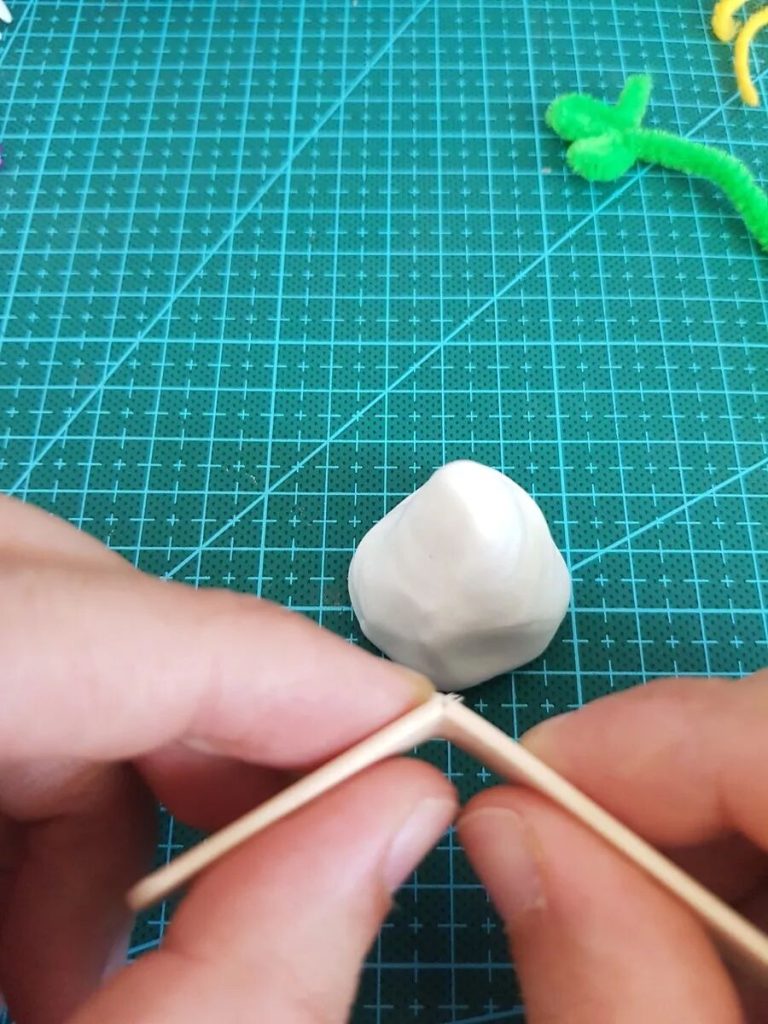
Insert it from the bottom, then pinch it, press it, and stand firmly. You can insert your body below.
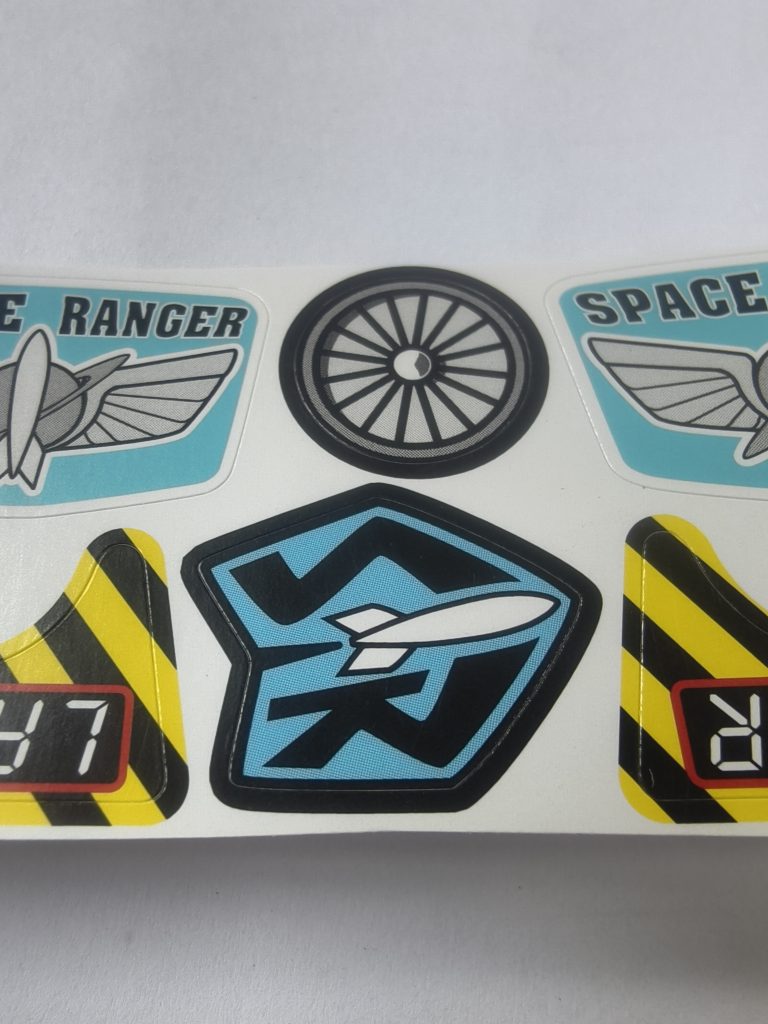
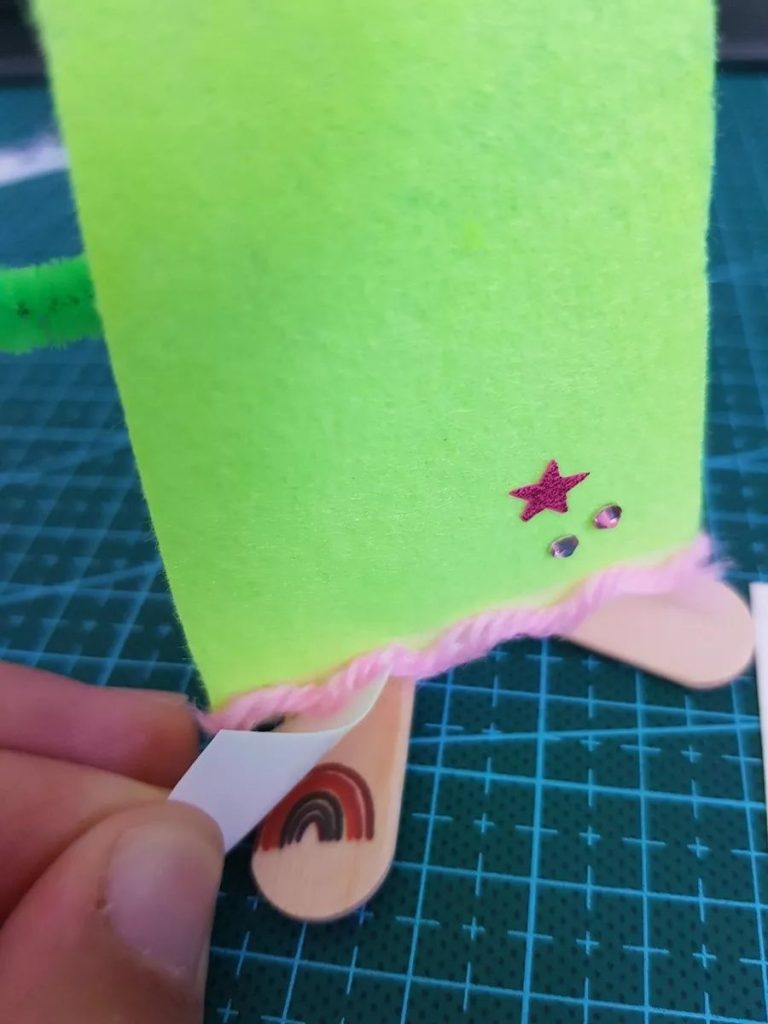
Let’s talk about the use of stickers, first cut out the pattern you like, and then peel off the plastic skin on it.
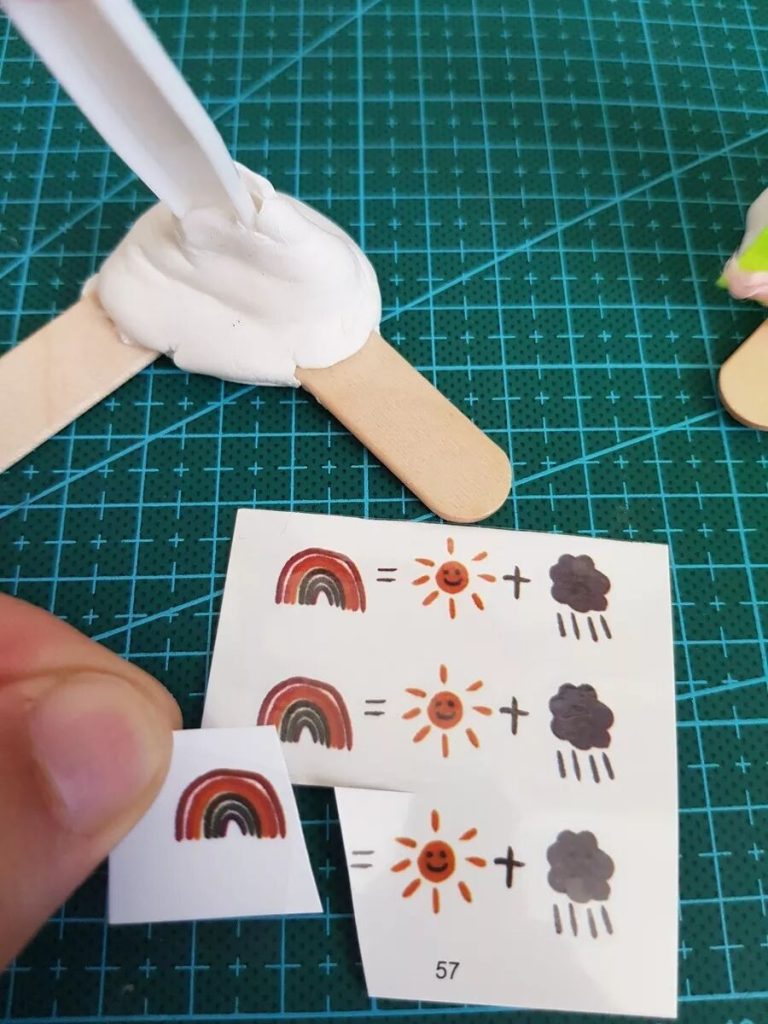
Dip the sticker in water for a few seconds
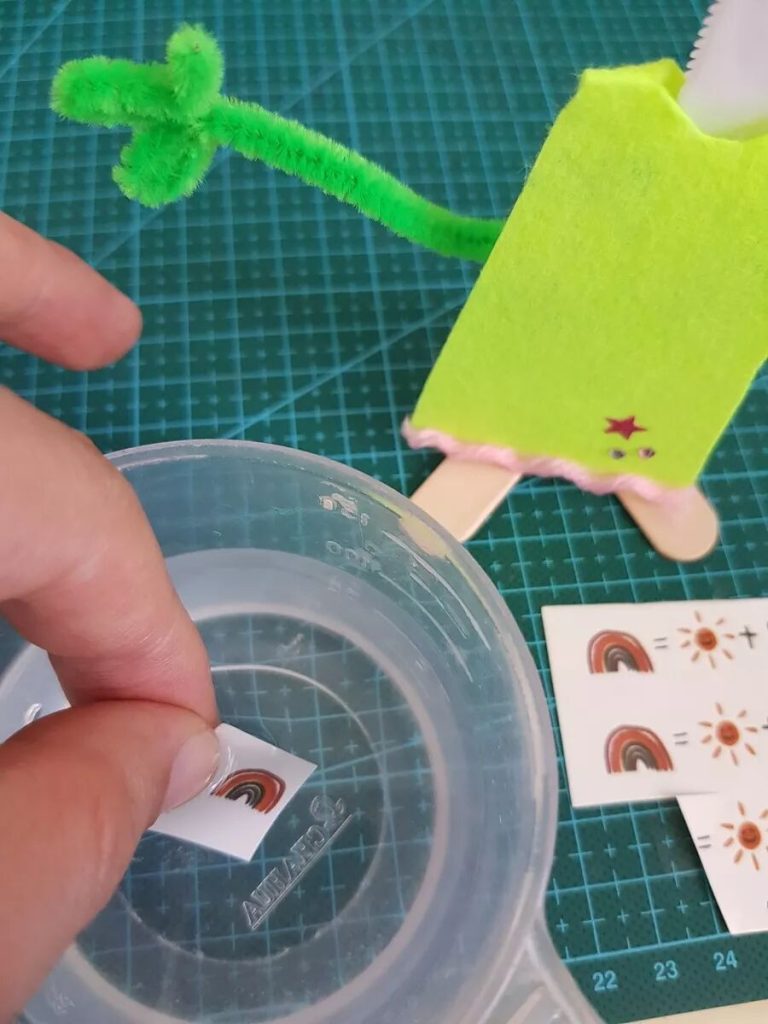
Throw the water off casually, then press it on your feet, press it slightly, and then slowly unpeel it to print a rainbow
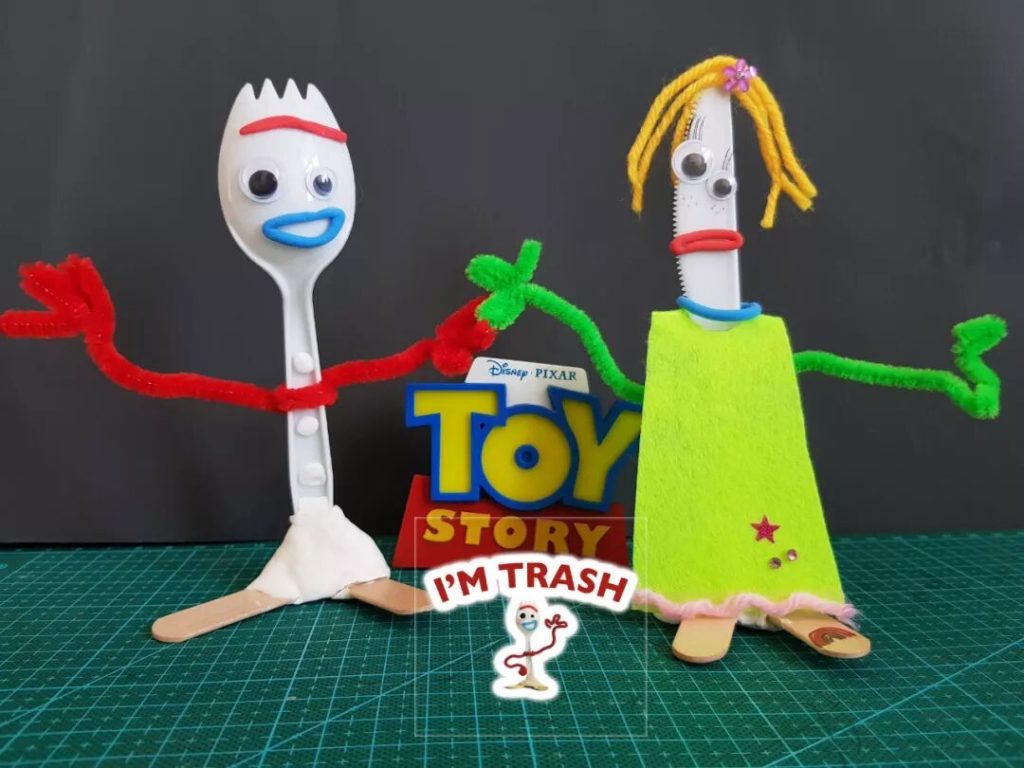
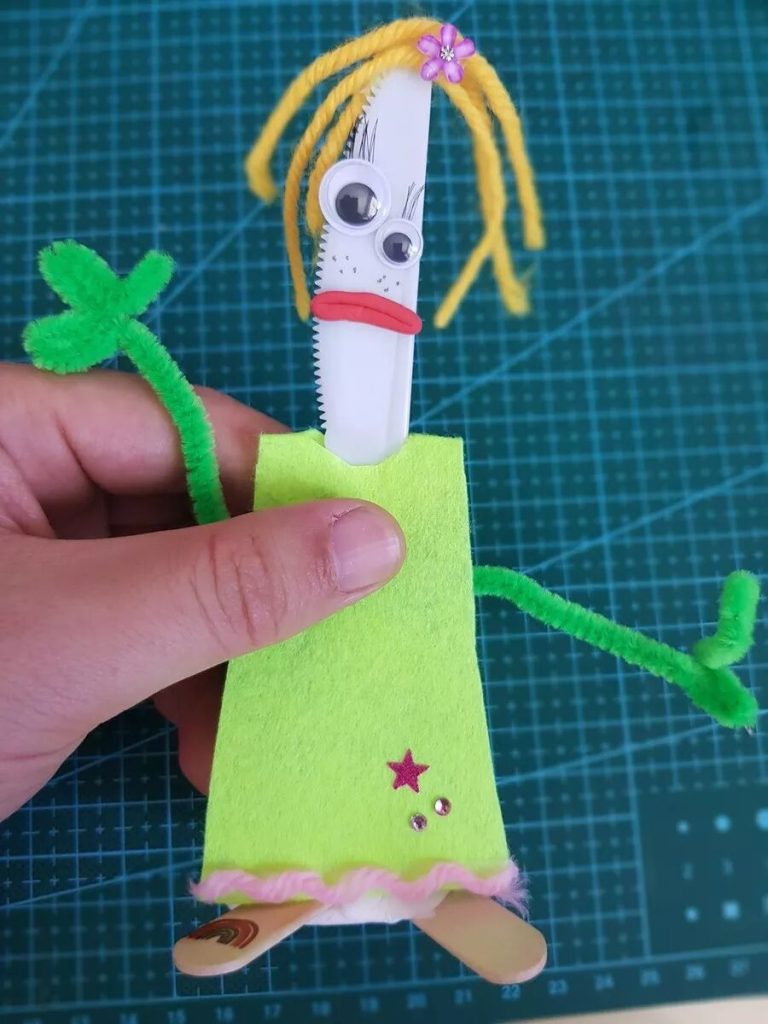
Then, adjust the shape of the arms, the position of the skirt, and tidy up the hair, basically the knife can meet the fork. Isn’t it exciting!!!!
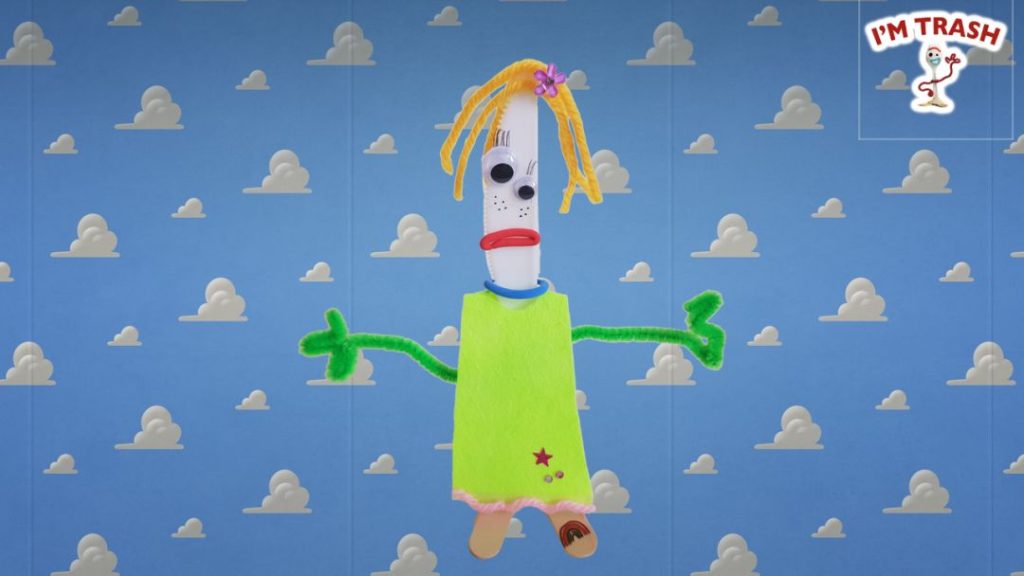
Da Da~~~ Shining debut, fork and knife CP sweet combination!
Key tips
1. Use red mud for the mouth, and rub the collar into a long strip with blue mud, wrap it around the neck, and then connect it behind the back to make a circle. It goes well with the color scheme of the forks.
2. The mouth must be thin, don’t use too much, and the mud that is not used must be sealed immediately. Otherwise, it will dry out quickly.
3. If you want to use the glue in the red vial, you can replace the double-sided tape, but you must slowly squeeze out a drop at a time, squeeze it onto a small container, and then use a toothpick to dip it in, do not abuse, it is best not to use it.
The glue should be slowly pierced with a needle or sharp object such as a paper clip or pin to squeeze it out.
4. You can play by yourself about the decoration of clothes, stickers are fancy, just choose what you like. Personality comes first.
Finally, don’t forget to sign your name on the soles of your feet. I wish you happiness.